
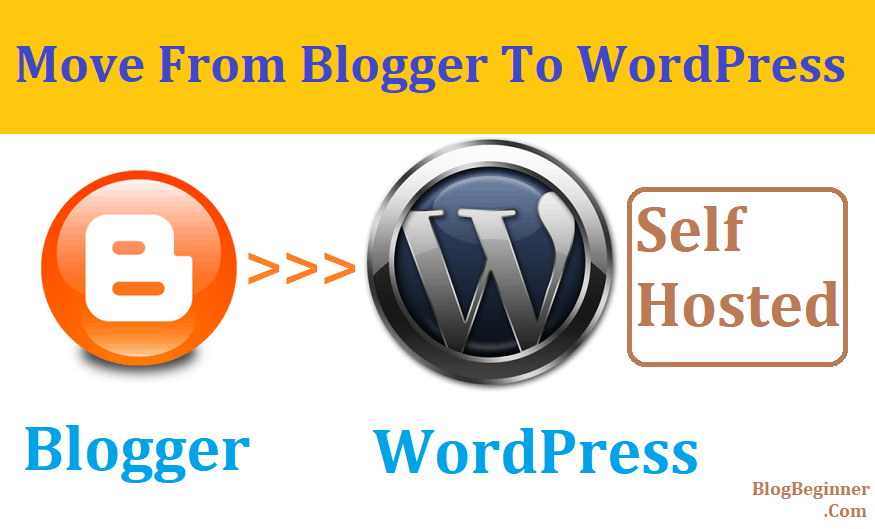
Moving From BlogSpot to WordPress
BlogSpot is one of the most popular blogging platforms in the world.
It’s free, easy to use, and it’s powered by none other than Google. In fact, if we have something to share with the world, the fastest and the easiest way to do that is to use BlogSpot.
Yet, BlogSpot has its limitations, and it’s far from perfect.
If we want to truly earn a living by blogging, we will eventually need a more professional platform.
The best and the most popular option that we have at our disposal is WordPress.
The number of customization options that WordPress offers is truly outstanding, not to mention that the platform offers some amazing themes as well.
The best thing about WordPress, however, is that it’s extremely easy to use.
You don’t need to be a web developer to set up everything properly; you can do whatever you want with just a couple of clicks.
But, there is one more thing that we need to have in mind when we want to switch to a new platform — we need to move our content as well.
It would be a real shame to let all of our previous work disappear overnight, wouldn’t it?
Moving from BlogSpot to WordPress can be somewhat painful if you don’t know how to do it properly.
But, don’t worry.
There are ways to make the process smoother and much more comfortable.
Let’s get started!
Contents In Page
What are all the key elements that we need to transfer?
Blog posts are not the only thing that we need to transfer, as there’s plenty of pertinent data that needs transferring as well.
Unfortunately, we can’t transfer the entire website just yet, but luckily, we can move most of it.
Here’s what we can move when switching from BlogSpot to WordPress:
- Categories
- Posts and pages
- Media
- Comments
- Permalinks
- Authors
- Feed
- Tracks
So, as you can see, we can move a lot of things, and even though it takes some time for the process to finish, it certainly pays off in the end.
Now let’s talk about the actual transfer and all the necessary steps of that process.
Initiating the transfer
You need to make sure that you’ve done everything accordingly before you initiate the transfer in the first place.
Also, remember that the transfer may take a while; it’s a long and tedious process.
1. Finding the best WordPress hosting
The first thing we need to do is find a reliable WordPress hosting service. Since we are looking for a self-hosted WordPress domain, we really need a top-notch provider.
We need a company that will take care of our files properly.
However, that’s not the only requirement, as that company also need to be well-known and with significant experience in the field.
If you use Google to find your WordPress provider, you will see that there are literally hundreds of different companies that provide these services.
As such, it can be very difficult to find the right one.
We recommend reading the reviews before making the final decision.
If customers are satisfied with the services of a particular provider, that means that they are definitely worth a try.
2. Installing WordPress on our account
Now you have to initiate the setup process:
- First off, make sure you are logged in to your cPanel account.
- Now go to the Website section.
- Find the “Install WordPress” option and click on “Install.”
- Choose your domain name.
- If you want to change your default settings, make sure you click on “advanced options.” If you don’t want to modify anything, you can skip this step.
- Make sure you read through all the license and service agreements before going forward.
- Once you’ve accepted the agreements, click on the “Install now” button.
As you can see, the process is very simple and straightforward.
Once you go through all these steps, the only thing you need to do is wait for the setup to finish.
3. Exporting our blog
We’ve reached a crucial point — you can finally export all of your data from BlogSpot and move it to WordPress.
Here’s what you need to do:
- Log in to your BlogSpot account.
- Click on “Settings” and then go to “Other.”
- Access the “Import & Back Up” section.
- Click on “Back up content.”
- After a pop-up appears, confirm your choice by clicking on the “Save on your computer” button.
Once you have done everything, a separate XML file will be downloaded.
This file contains all the information about your blog.
After the download, the file should be named something like this: “blog-05-06-2018.xml”.
Of course, the numbers you see represent the date of the export.
If you can see the file on your hard drive, that means that the download process was successful.
If not, you will have to start from scratch.
4. Importing our data to WordPress
After all of our data is exported into an XML file, the next step is to import it to our WordPress account.
These are the key steps that you need to follow:
- First off, make sure you log in to your WordPress account.
- Click on “Tools” and then go to “Import.”
- You should see BlogSpot as the first (and only) option on the list. Click on it.
- Choose the “Install now” option and wait for the import plugin to be installed.
After the process is complete, WordPress should (hopefully) show a message that says that exact thing.
You should also get a link to run the importer instantly.
If for some reason you have issues with that, you can always run the importer manually.
There is a limit to how big the import file can be.
The number can vary, but we can always increase it if needed.
We can manually tweak the maximum upload size of our XML file. In order to do that, we can go to “Media” and choose “Add new.”
5. Choosing the author
The next thing you need to do is assign the author of your imported data. If you’ve had plenty of different posts, you may have changed the authors from time to time.
With this option, however, you will have control of your ownership.
If the website is brand new, you will see only one user on the list.
In that case, we suggest that you choose that name, and the content will be automatically assigned to that particular user.
The process is exactly the same for multiple users as well, but of course, in that case, you need to select one name that you want to assign your content to.
6. Assigning our permalinks
We are almost done!
The next step is to assign the permalinks to our blog, i.e., URLs that WordPress uses to organize all posts and pages on our blog.
Everything we post needs to have a unique permalink, which is why we need to manage all of them carefully.
Permalinks have an enormous impact on both our website and SEO.
As a general rule, we should always make sure that our WordPress permalink structure resembles the one we’ve had in BlogSpot.
Only that way can we ensure that our permalinks are assigned appropriately.
7. Redirecting our old content to the new one
The very last thing we need to do is redirect our old content to the new one.
We can’t simply ignore all the content that we were posting in the past as well as all the users who are still visiting our old blog.
Remember — BlogSpot is Google’s product, and SEO optimization is very important if we want our blog to succeed.
So, you need to set up redirections on both your BlogSpot and your WordPress website.
Once you do that, you’ll also need to redirect your feeds.
If you’ve had any RSS subscribers (and you probably did), they won’t know what happened in the meantime unless you notify them.
So, the only way to change that is to redirect all of your feeds; they will instantly realize that you have a new platform now.
The entire redirecting process requires nothing more than a few clicks in the “Settings” menu.
There’s no coding necessary, and it only takes a few minutes.
It’s time to test our new website
Once the transfer is complete, we have to test everything to ensure our new blog works as intended.
We can open some of our old BlogSpot posts and try to reload them.
If we’ve done everything accordingly, we should soon be redirected to a corresponding WordPress entry.
If not, we will need to investigate what went wrong and (potentially) redo everything from scratch.
The testing is a somewhat lengthy process, but it’s a necessary one.
What should we do next?
If the testing shows a positive result, congratulations, you now have all of your BlogSpot posts on a new platform!
If not, here’s what you should try:
- Keep your old BlogSpot entries active. Don’t delete anything, as otherwise, none of the redirections will work.
- Check every imported post and try to see if you can find any errors. Sometimes, all we need to do is change the formatting.
- Try to learn as much as you can about WordPress in general.
- Find an ideal WordPress theme for your blog. If you are modifying the theme, make sure you apply those changes to the Theme Functions file as well.
- Look up the best SEO plugins that can improve your rankings and your traffic.